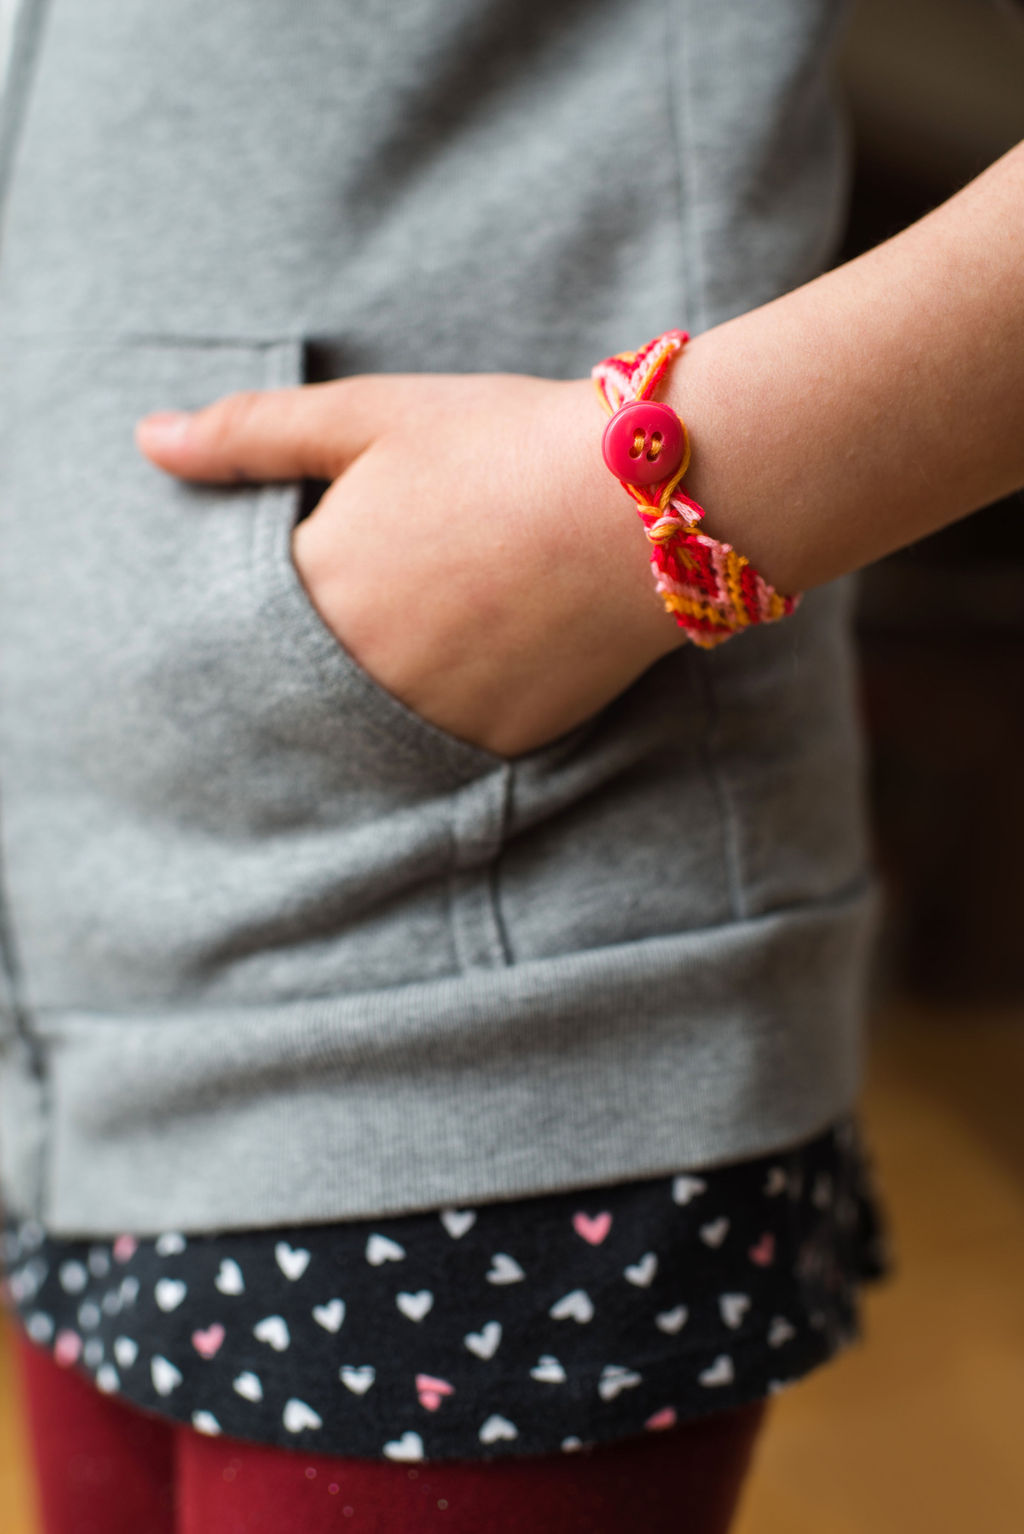
With Harper not being able to see all her friends, she had the idea of making them all friendship bracelets.
Here’s how we did it.

What you will need:
embroidery floss
small button
scissors
safety pin
pillow
Instructions:
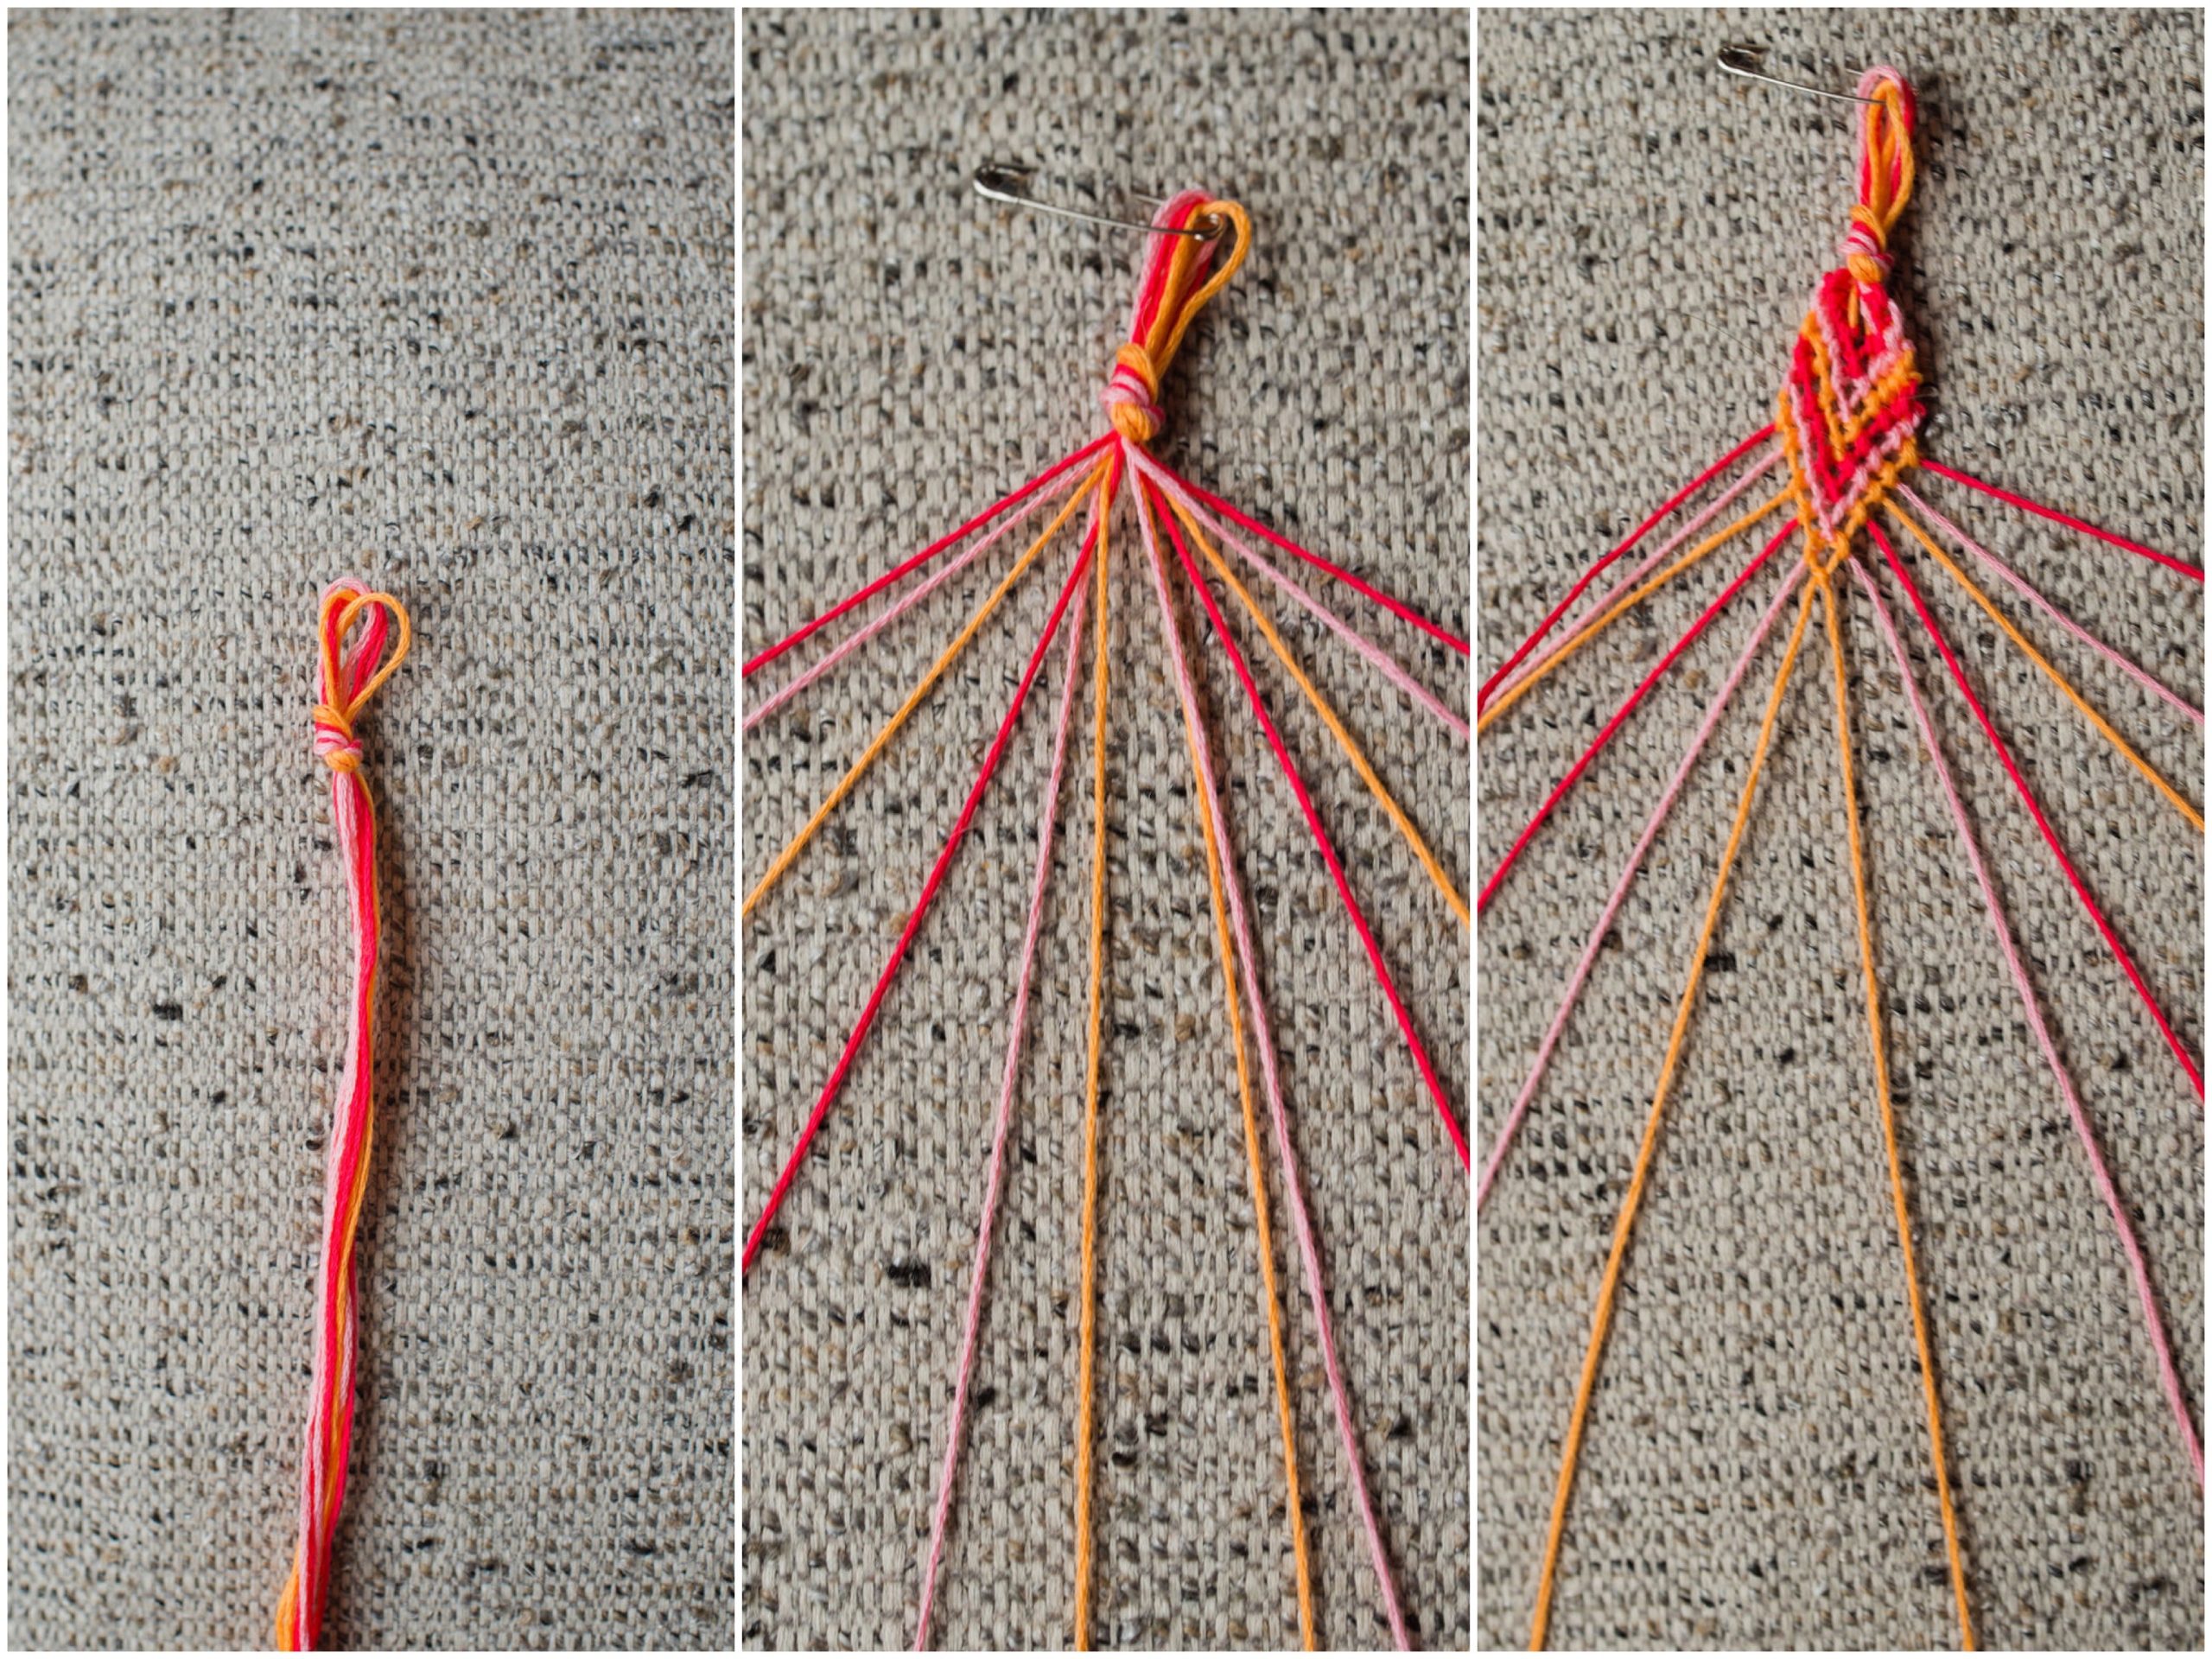
Select your colors of thread. (Note: the more you select the wider the bracelet will be) Fold the strands in half and tie a loop at the top leaving enough room to be able to place your button around it for closure.
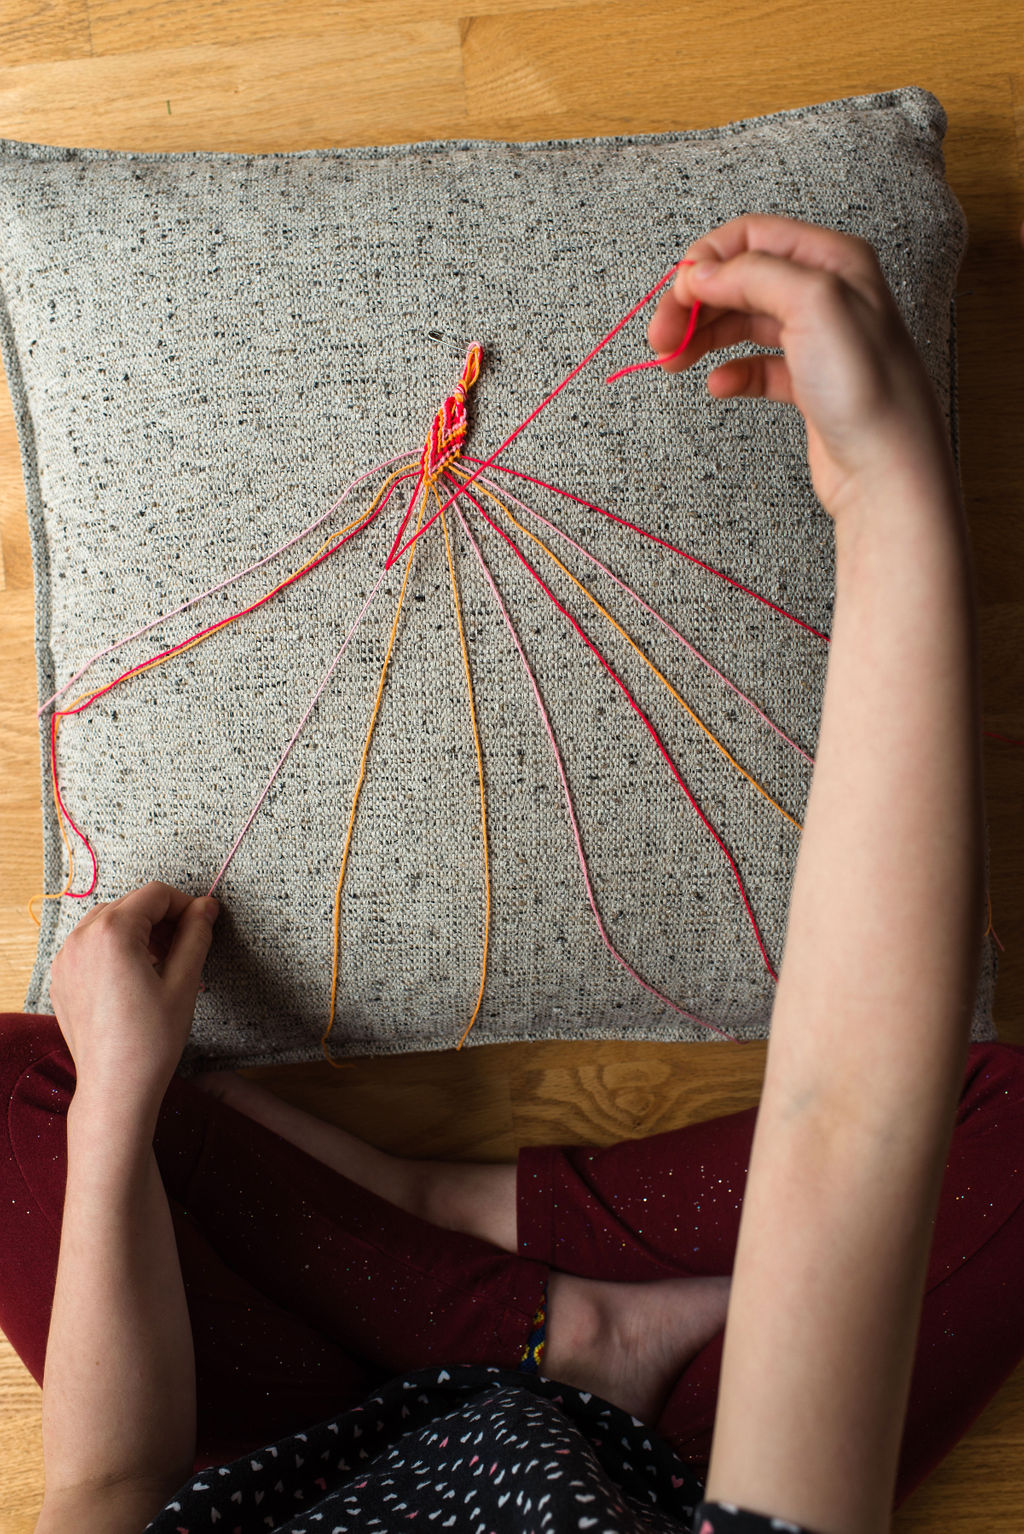
Take a pillow and using a safety pin, pin the loop to secure it down and keep it in place while you work. Then spread the strands out matching the colors to be an exact mirror image on both sides.
Start with the farthest left strand and make a knot by forming a number four with the second strand. Pull it under and threw the hole. Tighten and repeat step once more. You are going to continue to form two knots, moving from left to right, until you reach the center. Once you get to the center, stop. Now working from the farthest right, repeat same steps but you will be forming a backwards number four. Once you reach the center again, stop. When the two strands meet in the middle, you will take the right strand and make again backwards number four with the left strand twice. Then just switch left with right strand.
Continue making knots, always starting from the outside, left to right. You will see start to see V shape rows forming. Continue until you have reached the desire length of the bracelet you are wanting. Finish the bracelet with a knot.
To add your button, pick any two color strands and thread them thru the button. Tie a knot too secure and then cut off any access thread left over.


Photography by Rebecca Sanabria

hey girl-this is so cool! Have a great Weekend!!
A very great and sweet idea! I can’t wait to make these!
Clever, just like her momma!
Great idea!!
Love this Friendship bracelet. Reminds me of Buddy Bands episode on Saved by The Bell. Thanks for sharing!
Colorful, adorable and oh-so-thoughtful!
Wish you would have called these Buddy Bands