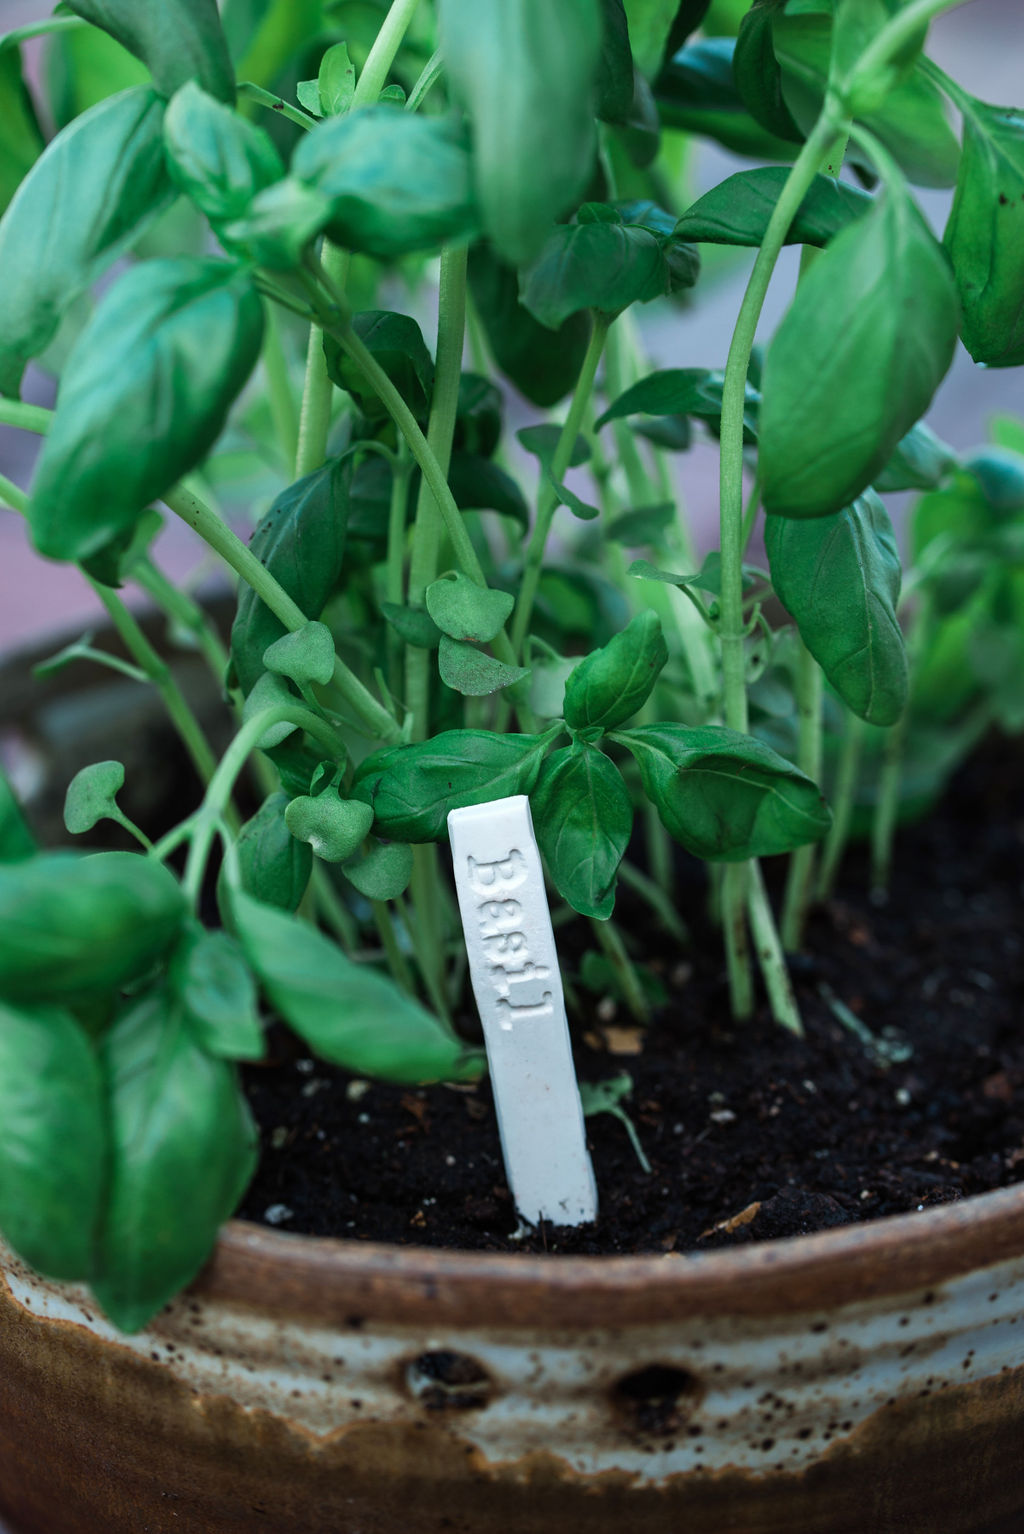
Being that I have been home, as we all are right now, I have been spending a lot of time in my garden. I needed to make some new garden markers for my garden beds so I thought, what a fun activity for the kids to do with me. Its super easy and a great way to spend time together as a family.
What you will need:
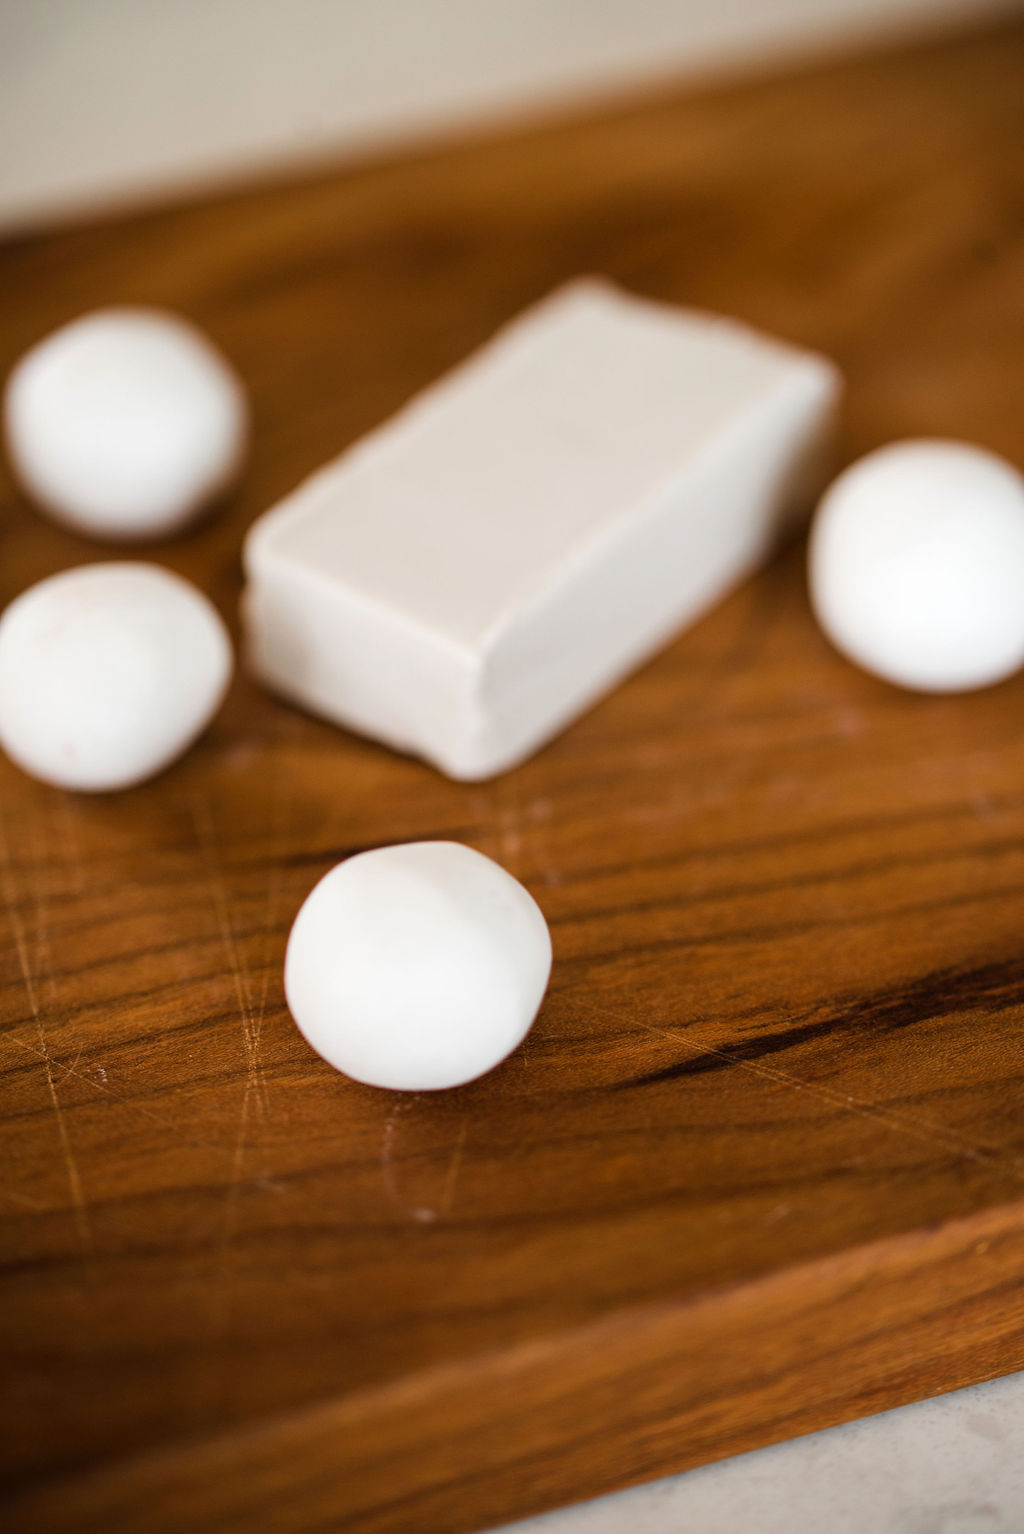
- Oven baked clay
- Rolling pin
- Butter knife
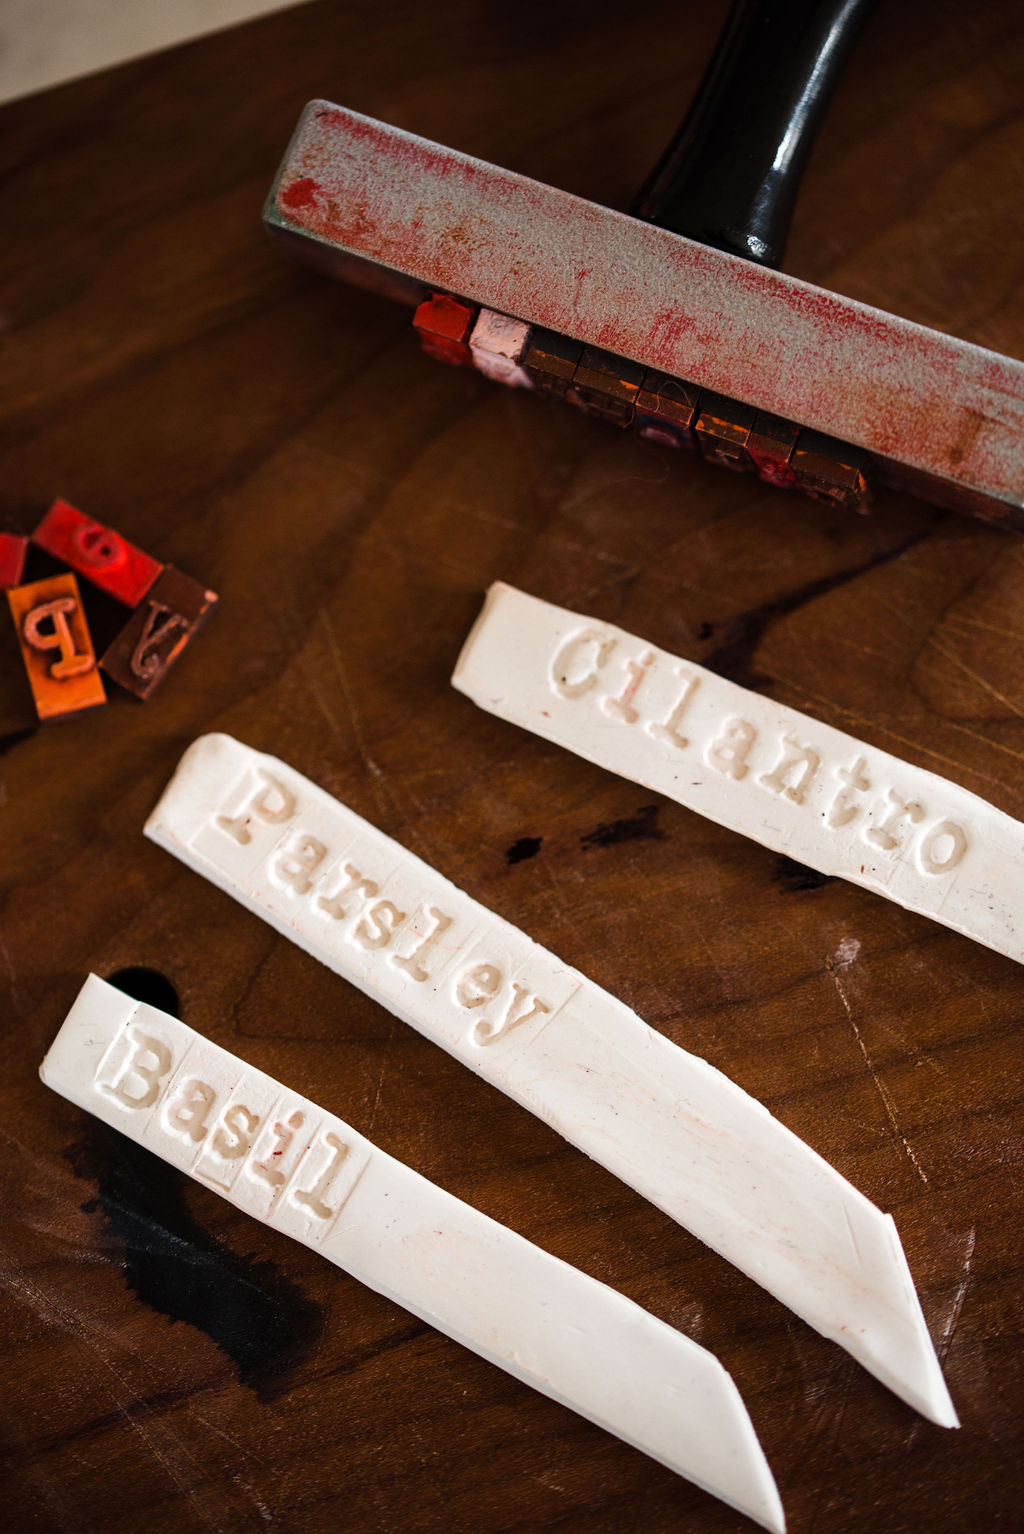
- Rubber letter stamps
Instructions:
- Break piece of clay and form into a 1 – 1.5 inch ball (each piece is one marker)
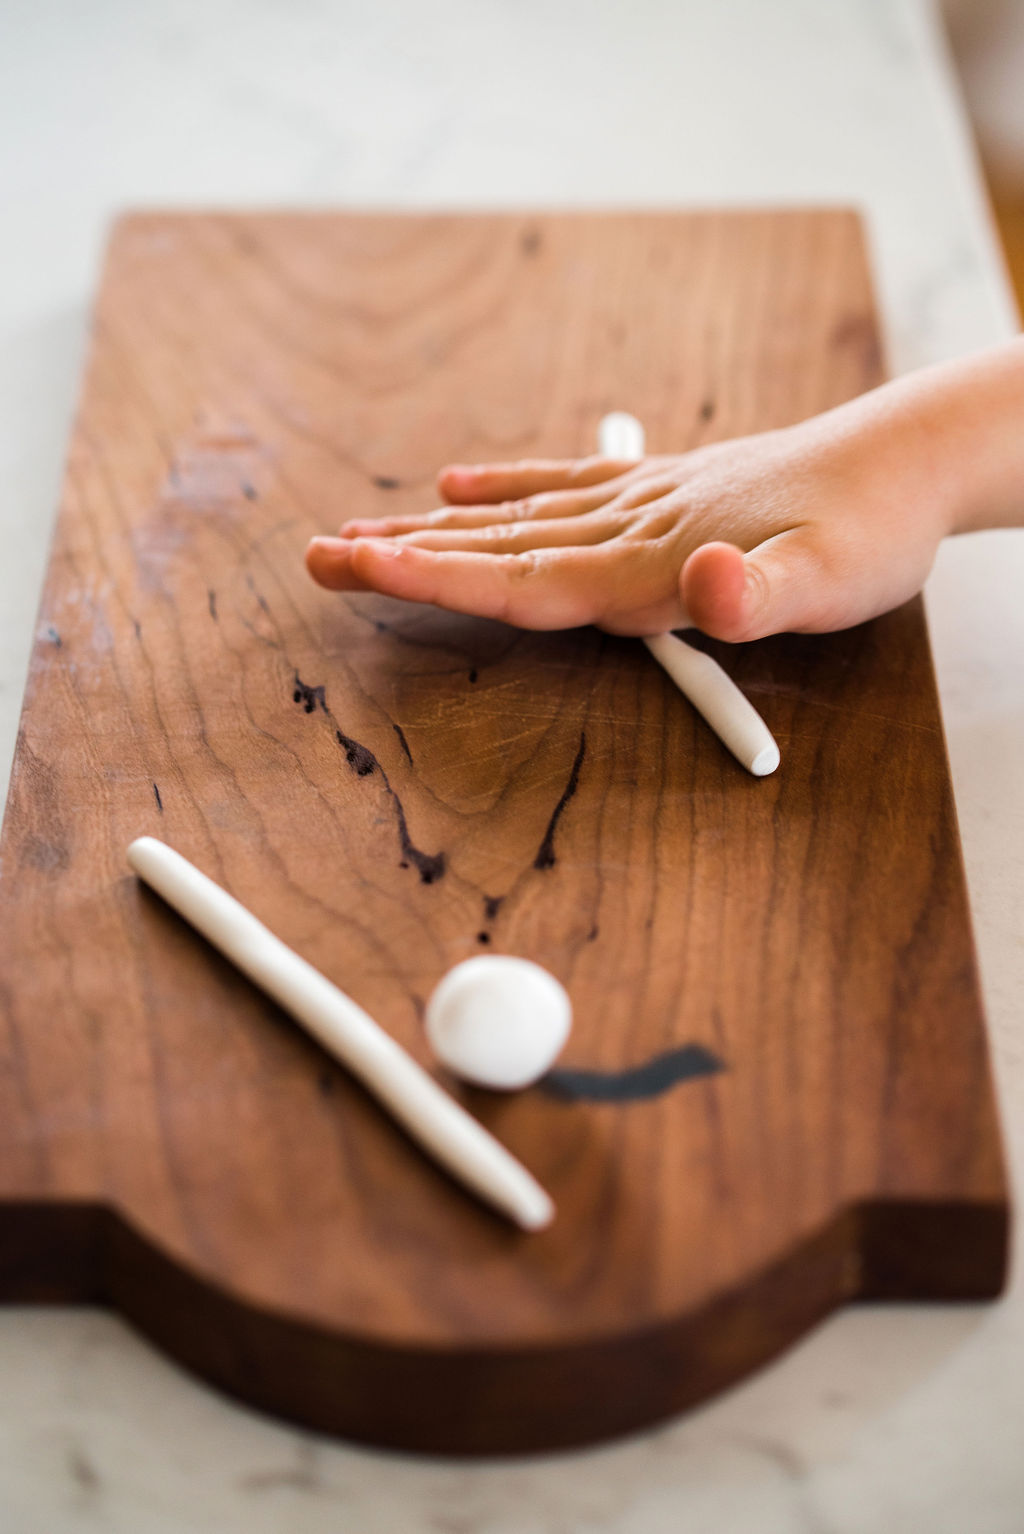
- Then with your hand, gently roll the clay into a coil till it becomes long and slender (see picture below). About 5 inches long.
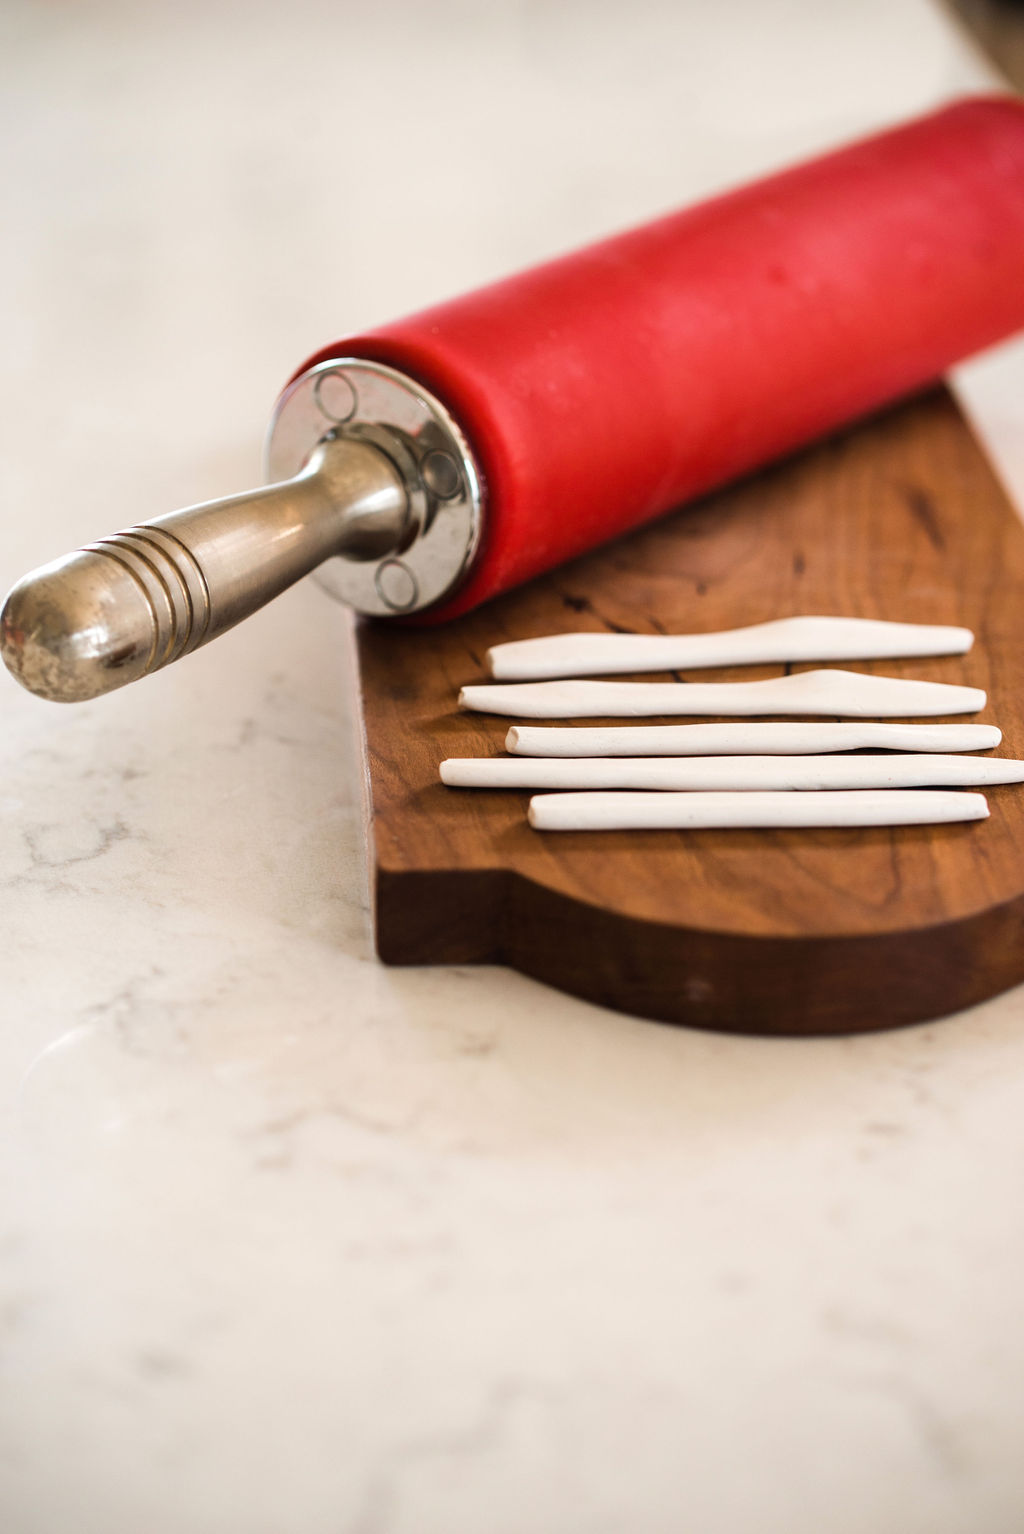
- Next take your rolling pin and carefully flatten the coil to about .25 inch thick.
- With your stamp, gently press down, being careful not to press to hard to thin or weaken out the clay too much.
- Take your butter knife and cut the top off at an angle.
- Carefully place markers on baking sheet.
- Place in oven and bake per the instructions on the package of the clay.
- Let it cool completley before placing in your garden.
- Remember to be gentle as the clay isn’t the most sturdy but def does the job and looks quite cute in your garden.
Photography by Rebecca Sanabria
What a fun and great idea! I stopped using the write-on markers as the print would wear off over time. These you can use over and over again. Thank you!